Skip to content
 Use the search bar at the top to find the patient by name or ID.Click the “Clinic” field to choose the appropriate clinic where the appointment will take place.Use the search bar at the top to quickly find the clinic by name (e.g., “Dental”, “Glaucoma”).Click on “Appointment type” under the Title field.Select the relevant type (e.g., Walk-In, Referral, Consultation, Follow-up, Lab Test).Use the calendar to select the date.Click the clock icon to adjust the time if needed.The selected date and time will appear just above the calendar.Click “Save & close” to save the appointment.Or click “Create invoice” to directly generate a billing invoice alongside the appointment (if applicable).
  Click the Burger menu (⋮) at the far right of a patient's row.A menu will appear with the following actions: Create appointment, Create invoice, View patient profile, View Next of Kin, Add demographic info, and Scan paper records
NeoEHR user guide
- Pages
Found in two locations: the top-right corner and in the center when there are no appointments listed.

Click “Create appointment +” to schedule a new appointment for a registered patient.

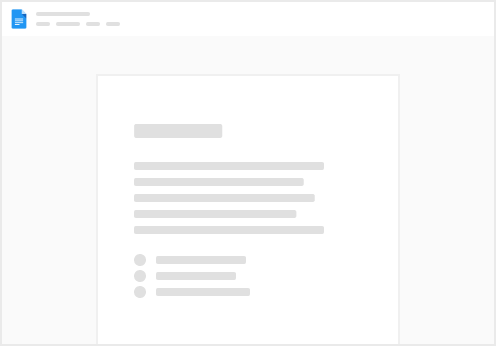
This interface allows you to schedule a new appointment for an existing patient by selecting a clinic, appointment type, date, and time.
Find Patient
Select Clinic
Choose Appointment Type
Set Appointment Time
After entering all required details:
Notes: Ensure all fields (Patient, Clinic, Appointment Type, and Time) are completed before saving.
Access More Options
You can access those functions through those options.
Want to print your doc?
This is not the way.
This is not the way.
Try clicking the ··· in the right corner or using a keyboard shortcut (
CtrlP
) instead.